
The Saskatoon MQG gathered on April 28 for a sew day at Home Inn & Suites in Stonebridge. We started with the icebreaker asking if we incorporated buttons into projects. The list was long and inspiring for someone (ie. me) who loves buttons. Ideas included to add them to ties on a quilt, a fidget quilt, wall hangings – like snowmen eyes, decorations on bags, decorations on heart-to-heart quilt, on a Christmas tree skirt, my quilted heart, hand embroidery, button ball, apron, pin cushions, on a pillow to hide poorly joined seams, and button flowers on wires. I never had heard of https://www.ifoundaquiltedheart.com/. The idea is to create and place small quilted hearts in a public place, so we can brighten the day of a stranger. What a great way to use up scraps! I can’t wait to make one.
Next, the ugly fabric projects were revealed and shared with the owner of the fabric. This was so fun. Thanks Laura for bringing the idea! Over and over again we had no idea which fabric was the ugly one. To be fair to the fabric, sometimes it was just that we couldn’t seem to get it into a project as it was never the right colour. It felt like spring because so many of the projects were so colourful as shown below.


Our education topic was to help a few of us that were stuck on projects. I am inspired on mine now! We drew box tops and have until September to make our own projects to keep. We are only allowed to use the colours on the box. We can’t add, or take away colours, and can make whatever we want. The app “A quilty solid” can help with the colours. Just take a photo and it will list them.
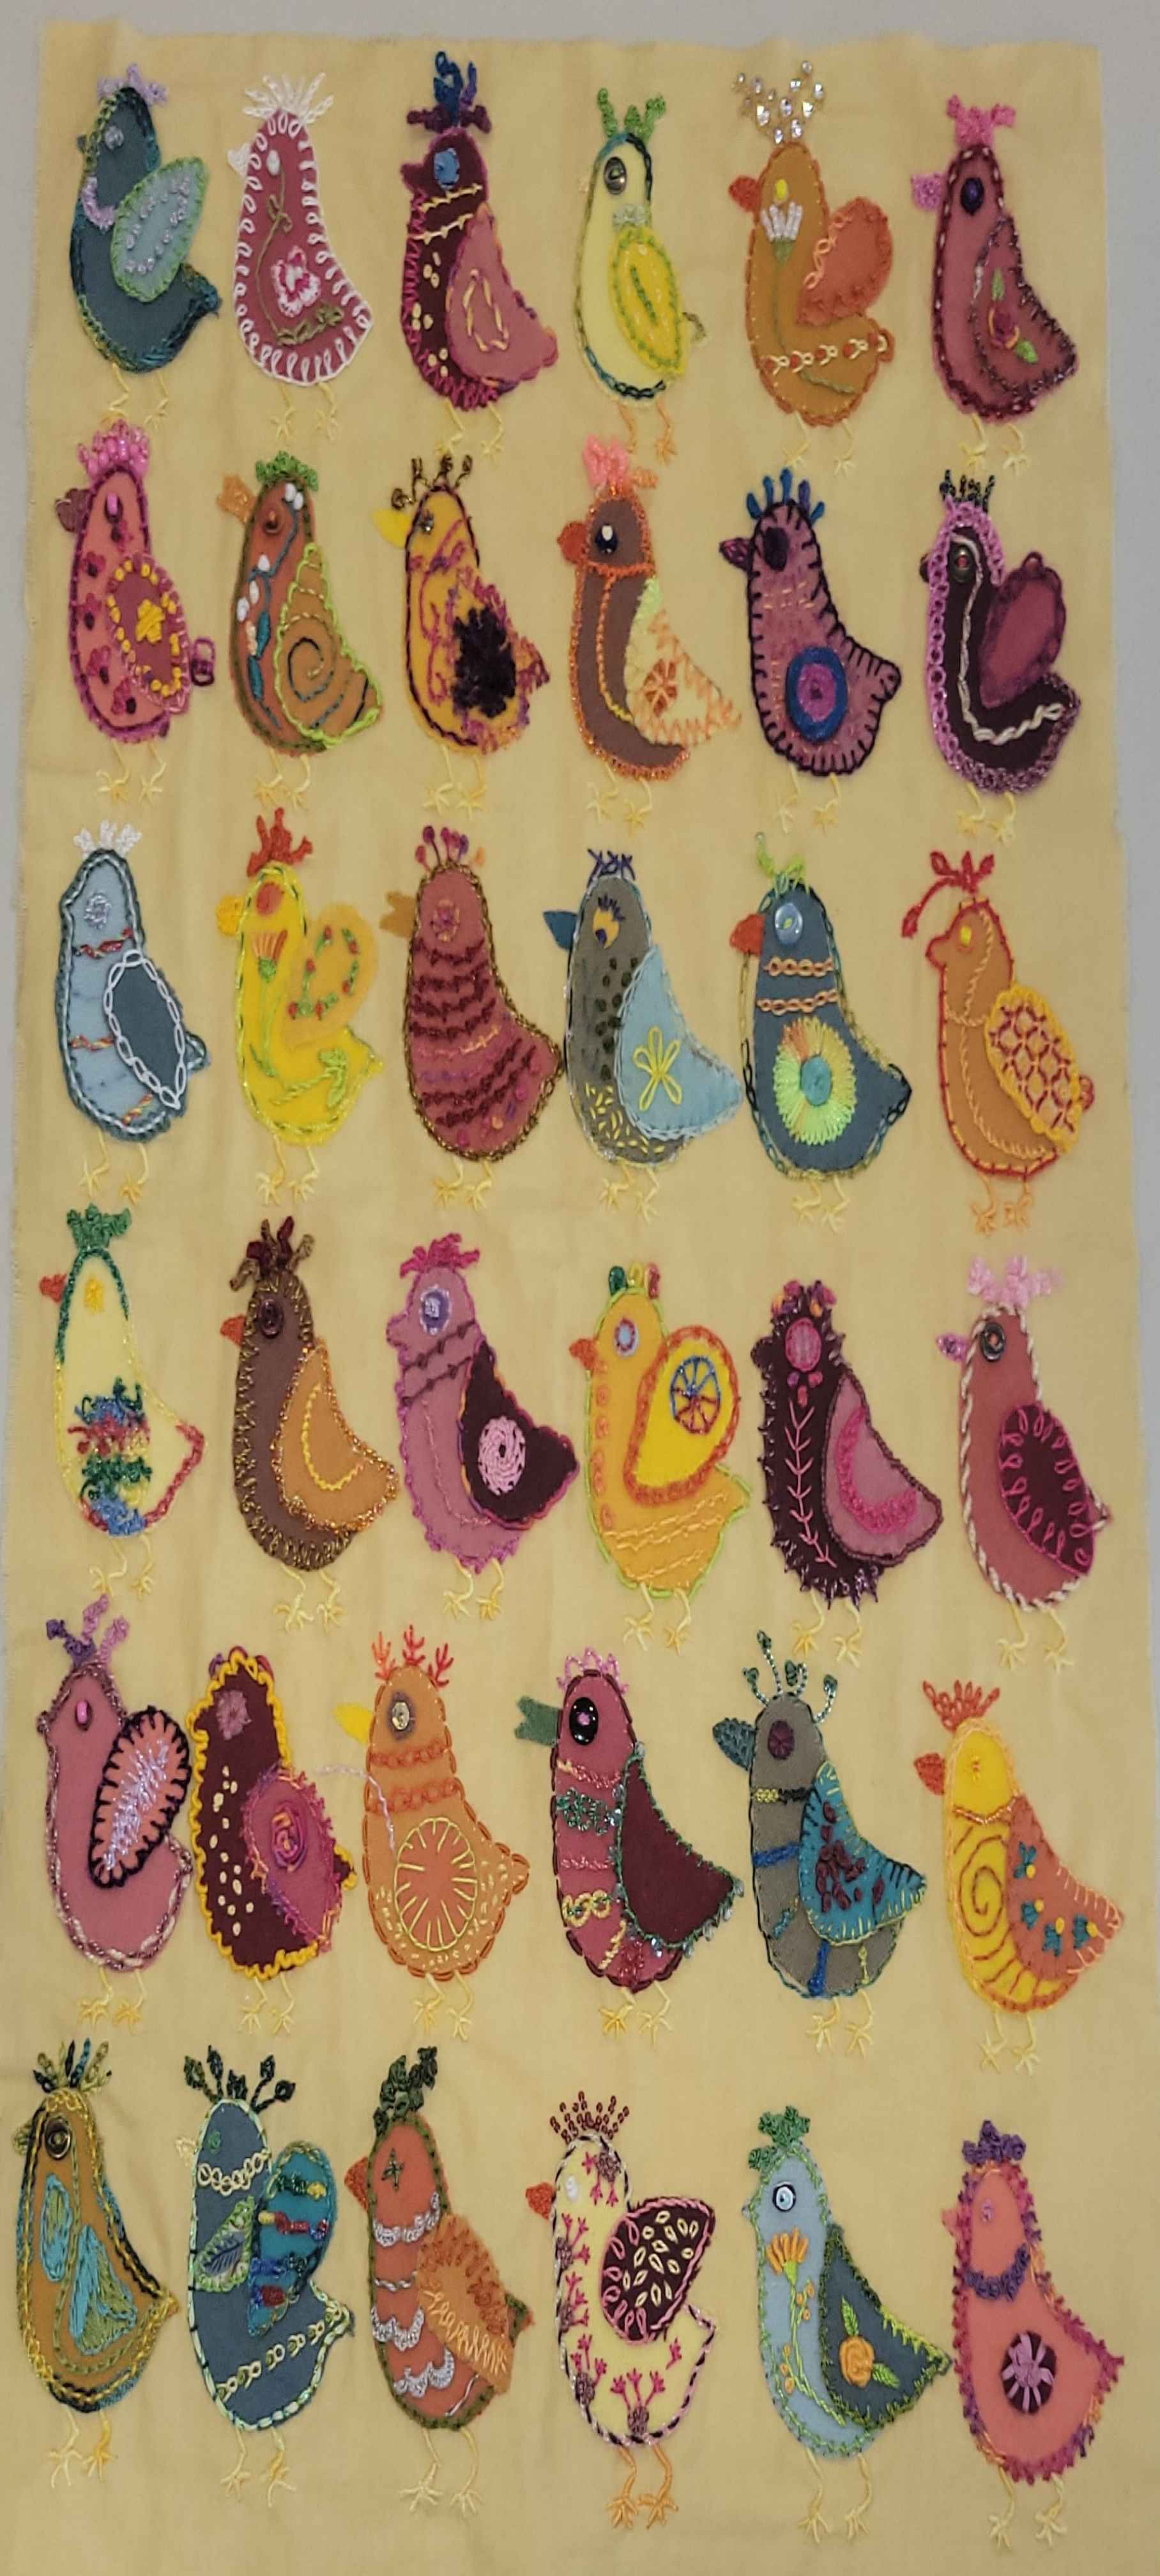
Here are few projects shown in show and tell, some of which were works in progress. The birds are a Sue Spargo pattern and the one to the right is a Peace Makers Calendar quilt.


Next month we will have our meeting on May 26 at Home Inn & Suites.
